How to Set up a Kindle for Your Elderly Parent (without the Sunday Night Panic Call)
Your mum got a Kindle as a gift and it’s been sitting in the box for three weeks because nobody’s had time to set it up. Or maybe your dad tried to do it himself, got stuck at the Amazon account screen, and has called you twice already. Either way, you’re here, and that’s exactly the right move.
This guide walks you through the entire setup process, from charging the device to adjusting the text size so your parent can actually read comfortably. By the end, you’ll have a Kindle that’s ready to use, properly configured for older eyes, and linked to an account you can manage from your own home.
Quick Answer
To set up a Kindle for an elderly parent, charge the device fully, connect it to their home Wi-Fi, and sign in with an Amazon account. Then go to Display Settings to increase font size and enable accessibility features like bold text and larger line spacing. We recommend doing this in person the first time so you can tailor everything to your parent’s eyesight and comfort level before you hand it over.
What You’ll Need Before You Start
- The Kindle device itself (still in the box is fine, fully charged is better)
- Your parent’s home Wi-Fi network name and password
- An Amazon account login. You can use an existing account or create a new one. We recommend setting up a separate Amazon account for your parent rather than using your own, so their purchases stay separate and they don’t accidentally see your order history.
- A credit or debit card to attach to the Amazon account, or Amazon gift card credit if you’d prefer to control spending
- About 30 to 45 minutes of uninterrupted time
Step-by-Step: Setting Up a Kindle for a Senior Family Member
Work through these steps in order. Each one builds on the last, so skipping ahead tends to cause confusion later.
Step 1: Charge the Device and Power It On
Plug the Kindle in using the included USB cable and let it charge for at least an hour before you start. A low battery during setup can cause the device to behave erratically, and that’s the last thing you need when you’re already managing a Wi-Fi password and an Amazon login at the same time. Once it’s charged, press and hold the power button on the bottom edge of the device for about three seconds until the screen lights up. You’ll see the Amazon logo appear, which means it’s booting up correctly.
Step 2: Connect to Wi-Fi
The setup wizard will ask you to choose a language first, then it will show you a list of available Wi-Fi networks. Tap your parent’s network name, type in the password carefully (Wi-Fi passwords are case-sensitive, so double-check capitals), and tap Connect. If the network doesn’t appear in the list, tap “Enter other Wi-Fi network” and type it in manually. Once connected, the device will confirm it and move you to the next screen automatically.
A quick tip: if your parent’s router is in another room and the signal is weak, move closer to it during setup. You can always put the Kindle back on the coffee table later.
Step 3: Sign In to or Create an Amazon Account
This is the step where most people get stuck, so take your time. If you’re creating a fresh Amazon account for your parent, go to Amazon.com or the Amazon app on your phone first and set up the account there. It’s much easier to type an email address and password on a proper keyboard than on the Kindle’s touchscreen. Once the account exists, come back to the Kindle and sign in using those credentials. The Kindle will register itself to that account automatically once you sign in successfully.
If your parent already has an Amazon account and has bought Kindle books in the past, signing in with those details will restore all their previous purchases instantly. That’s a lovely moment when it happens.
Step 4: Adjust the Text Size and Display Settings
This step makes the biggest practical difference to whether your parent actually enjoys using the Kindle. Once you’re on the home screen, open any book or tap the sample book Amazon pre-loads on the device. Then tap the top of the screen to bring up the reading toolbar, and tap the “Aa” button. This opens the font and display settings.
We recommend setting the font size to at least 4 or 5 out of the available scale for most seniors, though anyone with significant vision loss may prefer going higher. Choose a clean font like Bookerly or Georgia rather than a condensed one. Increase the line spacing to “Large” and the margins to “Wide” so the text doesn’t feel crowded on the page. These small changes genuinely transform the reading experience for older eyes.
Step 5: Turn On Accessibility Features
Kindles have a dedicated Accessibility menu that most people never find, but it’s worth knowing about. From the home screen, swipe down from the top to open the Quick Settings panel, then tap “All Settings,” then “Accessibility.” Here you can enable Bold Font, which makes every letter slightly thicker and easier to read even at smaller sizes. You can also turn on VoiceView, which is a screen reader (a feature that reads text aloud) if your parent has significant vision impairment. For most seniors, Bold Font on its own makes a noticeable difference.
Step 6: Set Up the Lock Screen and Parental Controls (Optional but Recommended)
We recommend turning off the lock screen PIN for elderly parents. It sounds counterintuitive, but a PIN adds a barrier every single time they pick up the device, and if they forget it, you’re looking at a factory reset. Go to Settings, then Device Options, then Device Passcode, and make sure it’s disabled. If you’re worried about accidental purchases, the more useful option is to require a password for purchases. Go to Settings, then Parental Controls, and enable “Password Protect Purchases.” This means your parent can browse and read freely, but buying a new book requires a password that you control.
Step 7: Download a Few Books Before You Leave
Don’t leave your parent with an empty library. Head to the Kindle Store from the home screen (tap the shopping cart icon or the “Store” link), search for an author they love, and download two or three books. Many classic novels are free or cost under a dollar through Project Gutenberg editions in the Kindle Store. If they’re not sure what they want, the local library might offer free Kindle borrowing through an app called Libby, which is worth setting up as a second step once they’re comfortable with the basics.
Common Problems and How to Fix Them
Even when you follow these steps perfectly, a few things commonly go wrong. Here’s how to fix them:
The Kindle Won’t Connect to Wi-Fi
First, restart the router by unplugging it for 30 seconds and plugging it back in. Then restart the Kindle by holding the power button for seven seconds until a menu appears, and tap Restart. If it still won’t connect, check whether the router uses a “guest network” with a different password from the main network. Older routers sometimes have compatibility issues with newer Kindle models, and Amazon’s customer support line is genuinely helpful for this specific problem.
The Amazon Account Won’t Accept the Password
Amazon has strong security and will sometimes flag a new device login as suspicious, especially if your parent has two-step verification (a security feature that sends a code to their phone before letting anyone sign in) turned on. Check their email or phone for a verification code from Amazon and enter it when prompted. If you’ve set up a new account and the password isn’t being accepted, try resetting it through the Amazon website on your phone before attempting the Kindle login again.
The Text Size Keeps Resetting
Font settings on a Kindle are saved per-book, not globally. That means if your parent opens a different book, the size might revert to default. The fix is to open each new book, tap the “Aa” menu, set the preferred size, and it will remember it for that book going forward. It’s a mild annoyance, but it only takes about ten seconds once they know what to tap.
Accidental Purchases Keep Appearing
The Kindle Store is easy to tap into accidentally, and one-click purchasing means a book can be bought before anyone realises what happened. Go back to Settings, Parental Controls, and enable the purchase password as described in Step 6. Amazon is also very good about refunding accidental Kindle purchases if you contact them within a few days through their website.
Tips to Make It Easier Long-Term
- Label the charging cable. A small piece of tape with “Kindle charger” written on it sounds silly, but it prevents the cable from being borrowed, lost, or confused with a phone charger.
- Set the screen brightness lower than default. The Kindle’s auto-brightness can be too intense for sensitive eyes in a quiet reading environment. A manual brightness of around 30 to 40 percent works well for most indoor reading.
- Enable automatic software updates so you never have to talk your parent through a manual update. This is on by default, but double-check under Settings, Device Options, Advanced Options.
- Create a short one-page cheat sheet. Write down the four or five things they’ll do most often: how to turn it on, how to make the text bigger, how to get back to the home screen, and how to find their books. Laminate it if you’re feeling ambitious. It genuinely reduces the number of help calls.
- Avoid enabling the web browser. The Kindle has a basic experimental web browser built in, but it’s slow, confusing, and not useful enough to justify the risk of your parent accidentally wandering into it and getting lost.
- Check in after the first week. A quick call to ask how it’s going often surfaces one small issue you can solve in two minutes over the phone, before it becomes a reason they stop using the device entirely.
Our Recommended Products for This Setup
Not all Kindles are equally well suited to older readers, and a couple of accessories make a real difference in daily comfort. Here’s what we’d actually suggest buying.
- Amazon Kindle Paperwhite (11th Generation, around $140 USD): We recommend the Paperwhite over the basic Kindle for seniors because the screen is larger, the backlighting is adjustable and warm-toned, and it’s noticeably easier to read in any lighting. The basic Kindle saves you around $40, but the screen quality difference is worth paying for if your parent reads for more than 20 minutes at a time. Check price on Amazon →
- MoKo Kindle Case with Stand (around $15 to $20 USD): A case that doubles as a stand lets your parent prop the Kindle on a table or their lap without holding it up for long periods, which matters a lot for anyone with arthritis or hand tremors. Look for one with a magnetic sleep/wake feature so they don’t have to find the power button every time. MoKo Kindle Case
- Amazon Kindle Stand (around $25 USD): If your parent tends to read in one spot, a small desktop stand keeps the Kindle at eye level without any holding required at all. This is especially useful after surgery or for anyone with neck or shoulder stiffness. Amazon Kindle Stand
Frequently Asked Questions
Can I Set Up a Kindle Remotely for My Parent?
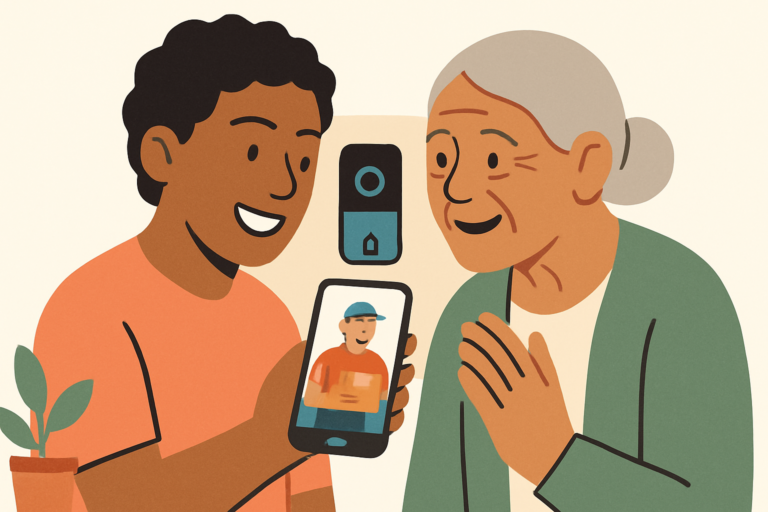
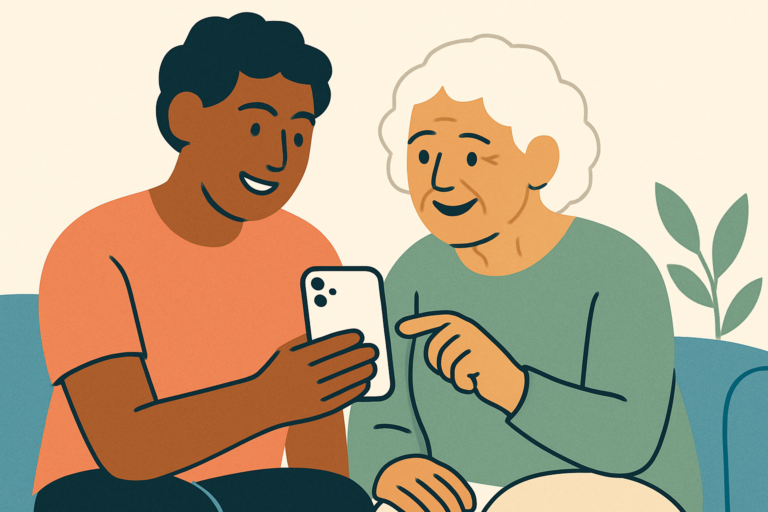
Partially, yes. You can register a Kindle to an Amazon account from your parent’s Amazon account settings page before the device even arrives, which skips the login step on the device itself. You can also send books to their Kindle remotely from your own device through Amazon’s “Send to Kindle” feature. However, the Wi-Fi connection and the display settings do need to be done in person, or walked through over a video call with someone holding the device at their end.
Should I Use My Own Amazon Account or Create a New One for My Parent?
We strongly recommend creating a separate account for your parent. Using your own account means any book they accidentally purchase gets charged to your card, and your order history, Prime Video watchlist, and other personal content will appear on their device. A separate account keeps things clean and gives your parent a sense of ownership over their own library. You can gift books to their account from yours whenever you like.
What’s the Best Kindle Model for Elderly Readers?
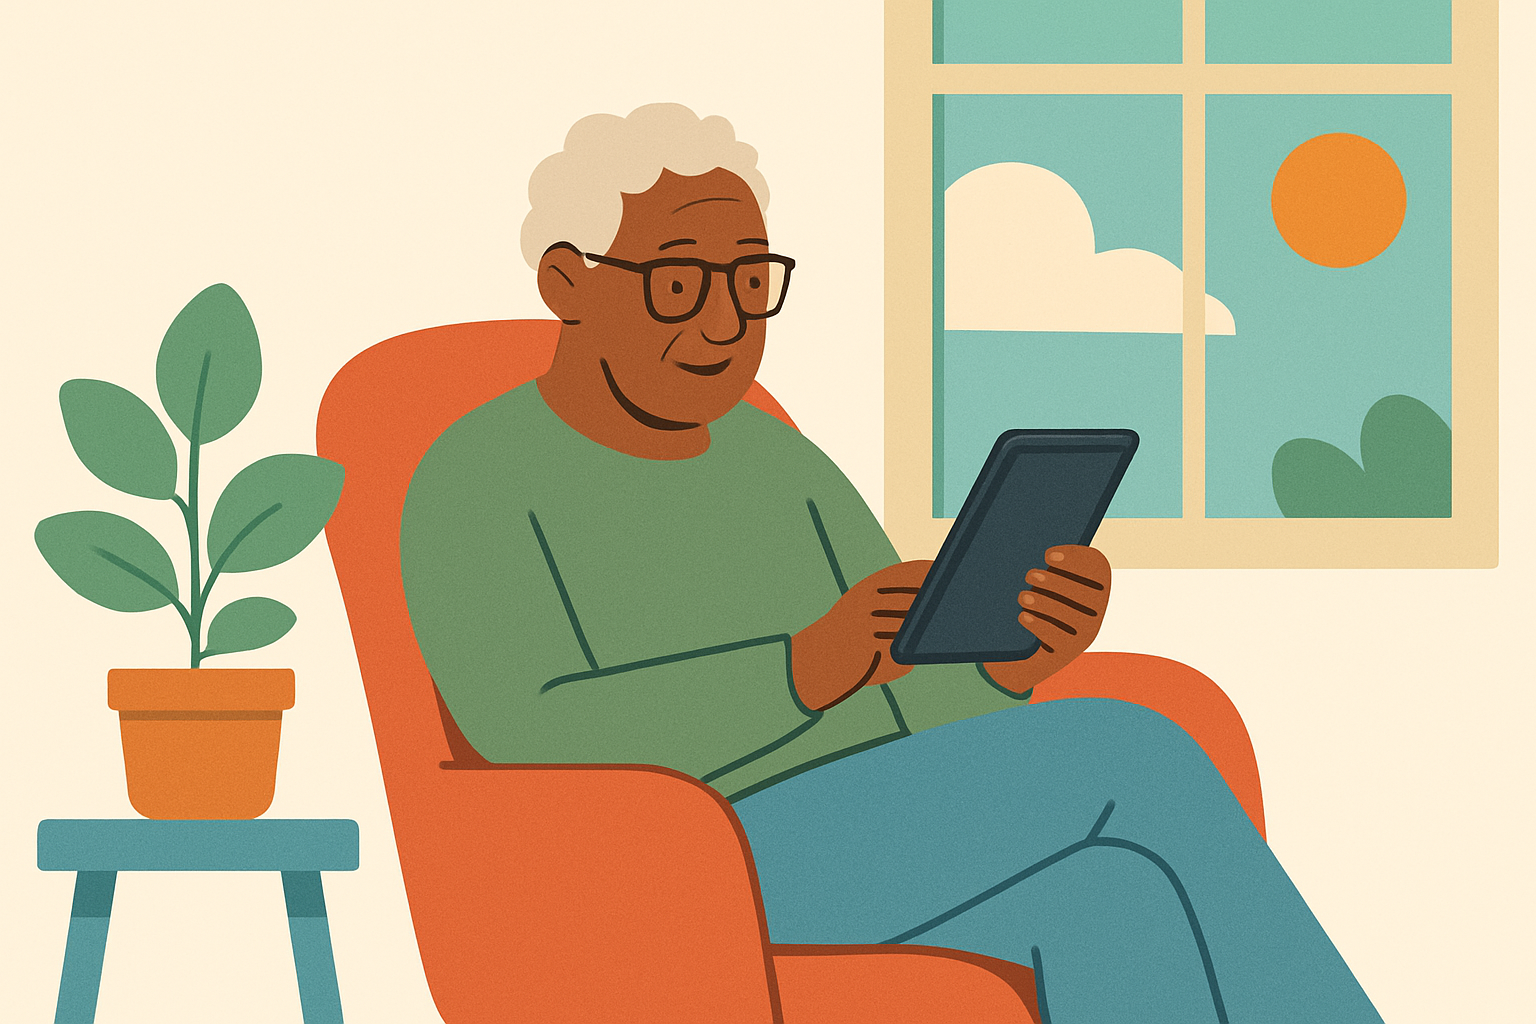
The Kindle Paperwhite is our top pick for most seniors. It has a 6.8-inch screen with adjustable warm lighting, a long battery life of around ten weeks, and enough storage for thousands of books. The Kindle Oasis (around $250 USD) has physical page-turn buttons which some seniors find easier than tapping the screen, but it’s significantly more expensive and Amazon has signalled it may be discontinued, so we wouldn’t recommend spending that much on it now.
How Do I Add Library Books to a Kindle?
Most public libraries in the US, UK, Canada, and Australia offer free Kindle book borrowing through an app called Libby, made by OverDrive. Your parent needs a library card, and you download the Libby app on a tablet or phone, sign in with the library card number, and borrow books that then appear on the Kindle automatically. It’s worth setting this up once you’ve got the basics running, because it means unlimited free reading from the local library, which many seniors absolutely love.
The Screen Looks Dim Even at Full Brightness. Is Something Wrong?
Probably not. Kindle screens look different from phone or tablet screens because they use e-ink technology rather than a traditional backlit display. E-ink is designed to mimic the look of a printed page, which means it looks softer and less glowing than a phone screen, especially in bright sunlight where it actually performs better. If the screen genuinely seems too dim even at maximum brightness, check whether “Auto Brightness” is switched on under Settings, Display. Turning it off and setting brightness manually sometimes resolves the issue.
Final Thoughts
Setting up a Kindle for your parent does take a bit of time and patience, but the payoff is real. Plenty of families have watched a parent rediscover a love of reading after years of struggling with small print in paperbacks, and having a device that’s set up properly from the start makes all the difference. Give yourself a full hour, don’t rush the display settings, and leave with a cheat sheet in hand. If you’re also thinking about other ways to make your parent’s daily life a little easier with technology, pairing a Kindle with a simple tablet for video calls is a natural next step, and we’ve got a full guide to that on the site as well.