How to Set up a Fire Tv Stick for Elderly Parents: a Step-by-step Guide for Families
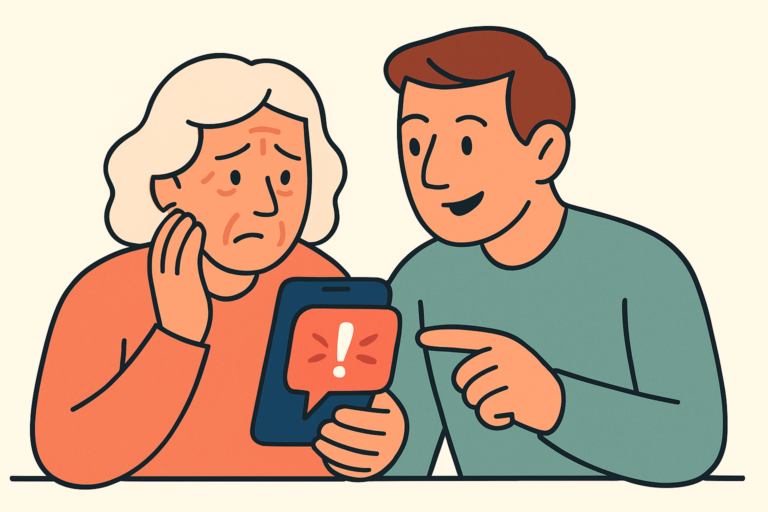
Your mum is paying for a Netflix subscription she can’t access because the TV remote confuses her, or your dad keeps accidentally switching inputs and landing on a black screen at 9pm, convinced the television is broken. Sound familiar? Setting up a Fire TV Stick for elderly parents is one of the most genuinely useful tech gifts you can give, but only if it’s set up properly from the start.
This guide walks you through the entire process of how to set up a Fire TV Stick for elderly parents, from plugging it in to making the interface as senior-friendly as possible. By the end, your parent will have a working streaming setup that doesn’t require a phone call to you every time they want to watch something.
Quick Answer
To set up a Fire TV Stick for elderly parents, plug the stick into an HDMI port on the TV, connect the power adapter, switch the TV to the correct input, and follow the on-screen prompts to connect to Wi-Fi and sign into an Amazon account. The whole process takes about 20 to 30 minutes. We strongly recommend doing this in person rather than over the phone, at least for the first setup, so you can configure the accessibility settings and parental controls that make daily use much less frustrating for seniors.
What You’ll Need Before You Start
- An Amazon Fire TV Stick (we recommend the Fire TV Stick 4K Max, currently around $60, because the faster processor means less waiting and fewer frozen screens)
- The Wi-Fi network name and password for your parent’s home. Write this down before you go over.
- An Amazon account with a valid payment method attached. You can use your own account and set it up under Amazon Household to share Prime benefits, or create a new account for your parent.
- Login details for any streaming services your parent wants to access, such as Netflix, Disney+, or Britbox. Have these written on paper before you start.
- The TV’s remote control, because you’ll need to change the input source at least once.
Step-by-Step: Setting Up the Fire TV Stick for Elderly Parents
Work through these steps in order. Don’t rush the early stages, because a shaky Wi-Fi connection or a wrong account login at the start will cause problems that are much harder to fix later.
Step 1: Plug In the Hardware
Take the Fire TV Stick and plug it directly into one of the HDMI (High-Definition Multimedia Interface) ports on the back or side of the TV. Most TVs have two or three of these ports, usually labelled HDMI 1, HDMI 2, and so on. Make a note of which number you used because you’ll need it in a moment. Then connect the small USB power cable to the stick and plug the adapter into a wall socket. Avoid using the USB port on the TV itself to power the stick because it often doesn’t provide enough power and causes unreliable performance.
Step 2: Switch the TV to the Right Input
Pick up the TV’s own remote (not the Fire TV Stick remote yet) and press the button labelled “Input,” “Source,” or “Home” depending on the brand. A menu will appear showing the available inputs. Select the HDMI input number that matches where you plugged in the stick. If you plugged into HDMI 2, select HDMI 2. You should see the Amazon Fire TV logo appear on screen within a few seconds. This is the step that confuses a lot of seniors later on, so it’s worth sticking a small label on the TV remote next to the input button saying something like “Press this if the TV goes blank.”
Step 3: Pair the Fire TV Stick Remote
The Fire TV Stick remote should pair automatically when you first turn the device on. If it doesn’t, hold down the Home button (the one that looks like a small house) for about 10 seconds. Once paired, you’ll see the setup screen on your parent’s TV. Insert the two AAA batteries that come in the box before you begin. We’d also suggest buying a spare set and taping them to the back of the TV or putting them somewhere obvious, because running out of battery is the number one reason seniors think the Fire TV has “stopped working.”
Step 4: Connect to Wi-Fi
The setup wizard will ask you to choose a Wi-Fi network. Scroll down the list until you find your parent’s network name and select it. Then enter the Wi-Fi password using the on-screen keyboard. This part is genuinely fiddly, so do it yourself rather than handing the remote to your parent at this stage. Passwords with a mix of capitals, numbers, and symbols can take a couple of minutes to type accurately with a TV remote. If the connection fails, double-check the password. It’s worth restarting the router once before you begin if you know the connection has been unreliable.
Step 5: Sign In to Amazon
The next screen asks you to register the device to an Amazon account. If you’re setting it up with your own account, you can often do this step remotely in advance through Amazon’s website by going to “Manage Your Devices” and pre-registering the serial number. Otherwise, type in the Amazon account email address and password on-screen. If your parent doesn’t have an Amazon account, now is the time to create one. Keep the login details written somewhere safe because they’ll be needed again if the device ever resets.
Step 6: Install the Streaming Apps Your Parent Actually Wants
After setup, you’ll land on the Fire TV home screen. Don’t install every app available. Pick two or three that your parent genuinely uses and put them front and centre. Press the Search button (the magnifying glass) and search for Netflix, then select “Download” or “Get.” Do the same for any other services. Once installed, open each app and sign in with the account details you brought with you. We’d recommend testing that content actually plays before you leave the house.
Step 7: Adjust the Settings for Easier Daily Use
This step takes an extra ten minutes but it saves dozens of phone calls. Go to Settings (the gear icon at the top right of the home screen), then select Accessibility. Turn on “VoiceView Screen Reader” if your parent has significant vision loss, or enable “Text Banner” which reads out what’s highlighted on screen. Under Display and Sounds, increase the text size if that option is available on your model. Back in Settings, go to Preferences and then Featured Content. Turn off autoplay for trailers because the sudden loud noise is startling and confusing for many older users. You’ll also want to go to My Fire TV, then About, and check for any software updates while you’re there.
Common Problems and How to Fix Them
Even when you follow these steps perfectly, a few things commonly go wrong. Here’s how to fix them:
The Remote Has Stopped Working
Nine times out of ten, this is a flat battery. Replace the AAA batteries first before trying anything else. If new batteries don’t fix it, hold the Home button for 10 seconds to re-pair the remote. If it still doesn’t respond, go into Settings on the Fire TV app on your phone, which you can use as a temporary remote while you sort the problem out.
The TV Shows a Black Screen or “No Signal” Message
This almost always means the TV is on the wrong input. Your parent has accidentally pressed the Input or Source button on the TV remote. Talk them through pressing the Input button and selecting the HDMI number where the Fire TV Stick is plugged in. This is the most common support call we hear about, so that label suggestion we mentioned in Step 2 is genuinely worth doing.
The Wi-Fi Keeps Dropping Out
If the Fire TV Stick is in a room far from the router, Wi-Fi signal can be patchy. The Fire TV Stick 4K Max supports Wi-Fi 6 which handles interference better, but if the signal is still poor you have two good options. You can move the router, or you can add a mesh Wi-Fi extender node near the TV. Another option is to use the Fire TV Ethernet Adapter (around $15) if your parent’s TV cabinet is close to a wired connection.
Your Parent Can’t Find Their Shows
The Fire TV home screen shows a lot of advertising and suggested content that doesn’t belong to any service your parent pays for. This is genuinely unhelpful for seniors. We’d recommend pinning the specific apps they use to the top of the home screen by highlighting the app, pressing the Options button (the three-line button on the remote), and selecting “Move to Front.”
Tips to Make It Easier Long-Term
- Label the remotes. Put a small sticker on the Fire TV remote saying “TV Remote” and one on the TV’s own remote saying “Change Channel or Volume.” This sounds too basic to matter. It isn’t.
- Set up the Amazon Fire TV app on your phone. It gives you a remote control and lets you troubleshoot some problems without being in the room.
- Disable in-app purchases. Go to Settings, then Preferences, then Privacy Settings and Parental Controls. Set a PIN (Personal Identification Number) to prevent accidental purchases. Your parent won’t be affected by this during normal viewing.
- Keep the remote in one fixed place. A small remote holder that attaches to the side of the sofa arm costs less than $10 and eliminates the number one complaint (“I can’t find the remote”).
- Write a one-page cheat sheet. Cover three things only: how to turn the TV on, how to get back to the main menu (Home button), and how to pick a show in their favourite app. Laminate it if you can. Keep it near the TV.
- Check in after the first week. Small issues that feel minor to us can feel completely defeating to an older parent who doesn’t know how to fix them. A five-minute check-in call on day seven catches most early problems before they become habits of avoidance.
Our Recommended Products for This Setup
A few products make a real difference when you’re setting up a streaming system for an older person, either by making the experience more reliable or by reducing the number of buttons your parent has to interact with.
- Amazon Fire TV Stick 4K Max (around $60): We recommend this over the cheaper standard Fire TV Stick because it’s noticeably faster and the improved Wi-Fi performance means fewer buffering interruptions, which are endlessly confusing for seniors who don’t know whether something is loading or broken. Fire TV Stick 4K Max
- Alexa Voice Remote Pro (around $35, or included with some Fire TV bundles): This version of the remote has a backlit keypad so it’s visible in a dark room, and it has a “Find My Remote” feature that makes it beep when lost. Both of those features are genuinely valuable for older users. Alexa Voice Remote Pro
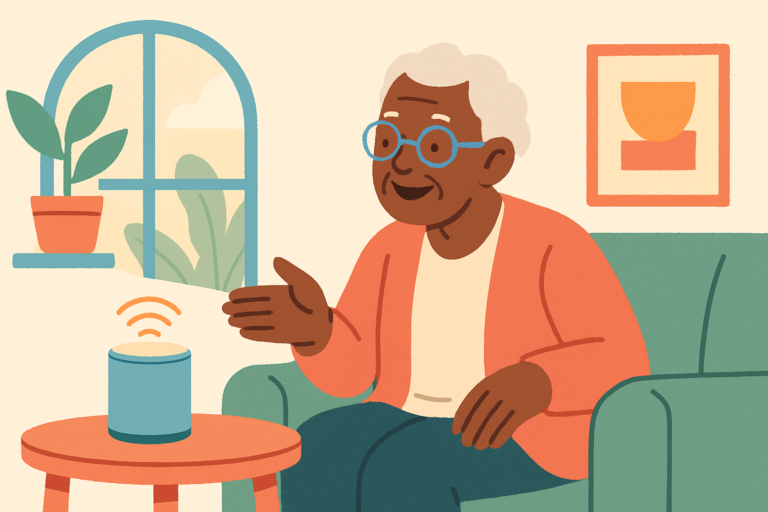
- Amazon Echo Dot (around $30-$50 depending on generation): Pairing the Fire TV with an Echo Dot lets your parent control their TV by voice. Saying “Alexa, play Downton Abbey” is often much less frustrating than scrolling through menus with a remote. It’s not a perfect solution for everyone, but for parents with arthritis or limited dexterity, voice control changes daily life. Check price on Amazon →
Frequently Asked Questions
Can I Set Up the Fire TV Stick Remotely for My Parent?
You can do some parts remotely. If you pre-register the device to your Amazon account before sending it, your parent just needs to plug it in and connect to Wi-Fi. You can also use Amazon’s “Second Screen” feature and the Fire TV app to help control the device from your own phone once it’s online. That said, the initial Wi-Fi setup and accessibility adjustments are genuinely easier to handle in person, and we’d encourage you to visit for the first setup if at all possible.
Which Fire TV Stick Is Best for Elderly Users?
We’d point most families toward the Fire TV Stick 4K Max. The processing speed improvement over the entry-level model makes menus noticeably more responsive, and slower, laggy interfaces are disproportionately confusing for older users who may not know whether their button press registered. The 4K resolution also means a sharper picture on modern televisions, which can help seniors with mild vision difficulties.
Does My Parent Need an Amazon Account to Use a Fire TV Stick?
Yes, an Amazon account is required to set up and use the device. Your parent doesn’t need to be an Amazon Prime subscriber to use it, though Prime membership (around $14.99 per month or about $139 per year in the US) does include free access to Prime Video. You can add a parent or partner to your own Amazon account through the Amazon Household feature, which shares Prime benefits across two adults without sharing full account access.
What Streaming Services Work on a Fire TV Stick?
Most major streaming services are available, including Netflix, Disney+, Apple TV+, Peacock, Paramount+, HBO Max, and many free services like Tubi and Pluto TV. The main exception historically was Google’s YouTube TV, though basic YouTube has been available for some time. If your parent’s specific service isn’t listed in the app store, it’s worth checking Amazon’s compatibility page before purchasing.
My Parent Keeps Accidentally Exiting Their Show. How Do I Stop That?
This is a very common issue. The Fire TV remote has a Back button that exits apps if pressed too many times, and the Home button returns to the main menu instantly. There’s no way to completely disable these buttons, but you can reduce accidental presses by using a remote holder that keeps the remote in a consistent position and by covering the Home button with a small raised sticker so your parent can feel which button is which without looking. Some families also swap to a simplified universal remote that has fewer buttons overall.
Final Thoughts
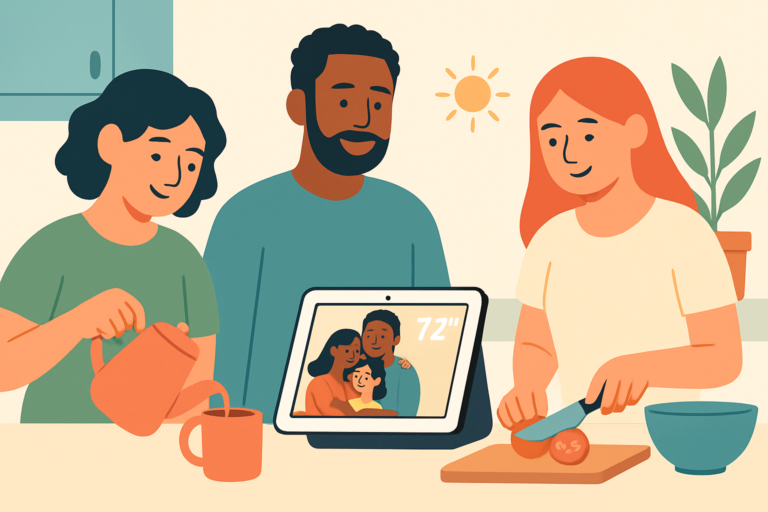
Getting a Fire TV Stick set up properly for an elderly parent takes more time than the box suggests, mostly because the real work is in configuration and teaching, not just plugging things in. Be patient with the process and with your parent. The payoff is real: a parent who can independently watch their favourite shows, access video calls through apps like Amazon’s own video calling features, and feel genuinely at home with their technology rather than defeated by it. If you’re also thinking about your parent’s broader safety and independence at home, pairing this kind of entertainment setup with a medical alert device or a smart home display that lets you check in visually is worth exploring as a next step.